Nutanix with External Storage part 2
- Marco Tubben
- May 5
- 2 min read

Once the Nutanix cluster is created everything looks familiar except for the storage Widget : ITS EMPTY !!!

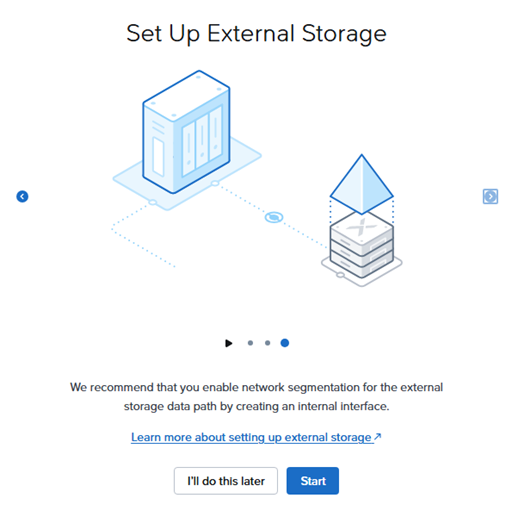
Or maybe you would be triggered by the pop-up when you first logged in to Prism :

Now is the time to connect our Nutanix cluster to external storage. In this blog post I will connect it to an Everpure storage box. (The storagebox formerly known as Pure Storage 😊)
First create a additional virtual switch vs1 for external storage traffic between the NCI compute cluster and Everpure FlashArray
Recommend virtual switch settings:

For optimal performance set the MTU size to 9000 and set the Bonding to Active-Active (LACP) (don’t forget to do the same for the switch ports)

Then create an internal interface with Everpure FlashArray, follow these steps:
Settings > Network > Network Configuration > Internal Interfaces > Create New Interface

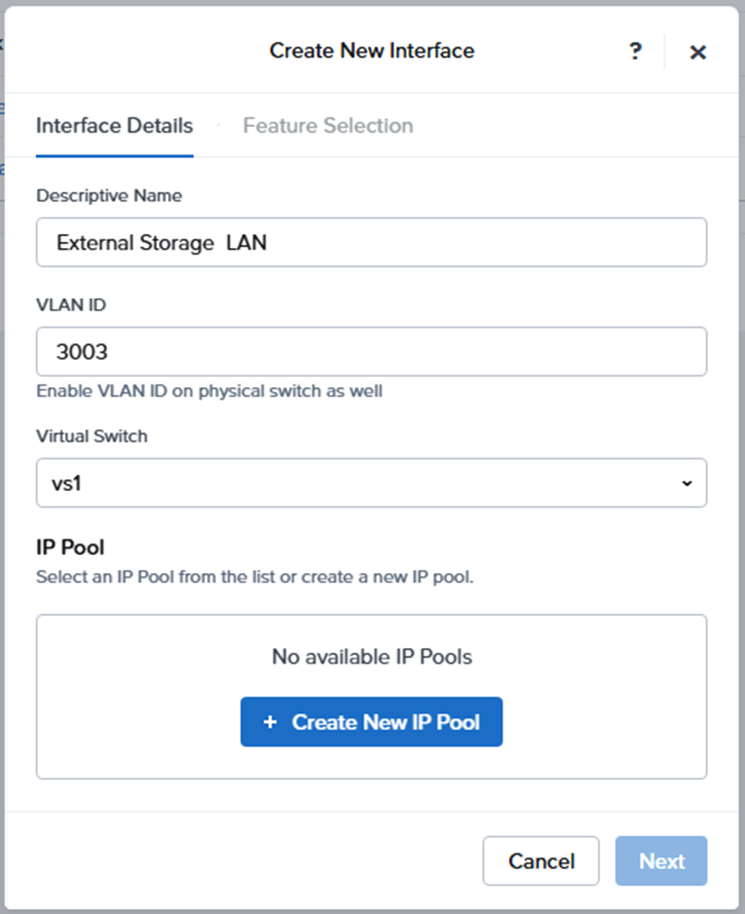
Fill in Name, VLAN ID and choose the correct Virtual Switch
Select Create New IP Pool and fill in the required IP range

Select that IP Pool
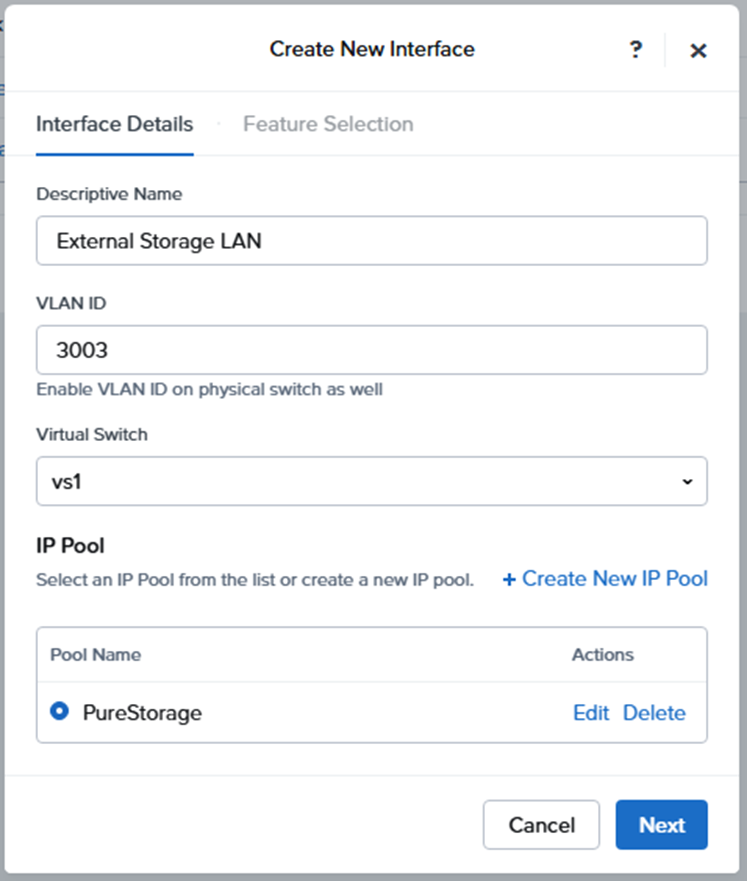
And click Next
Select the External Storage selector under Feature Selection and fill in the right MTU size
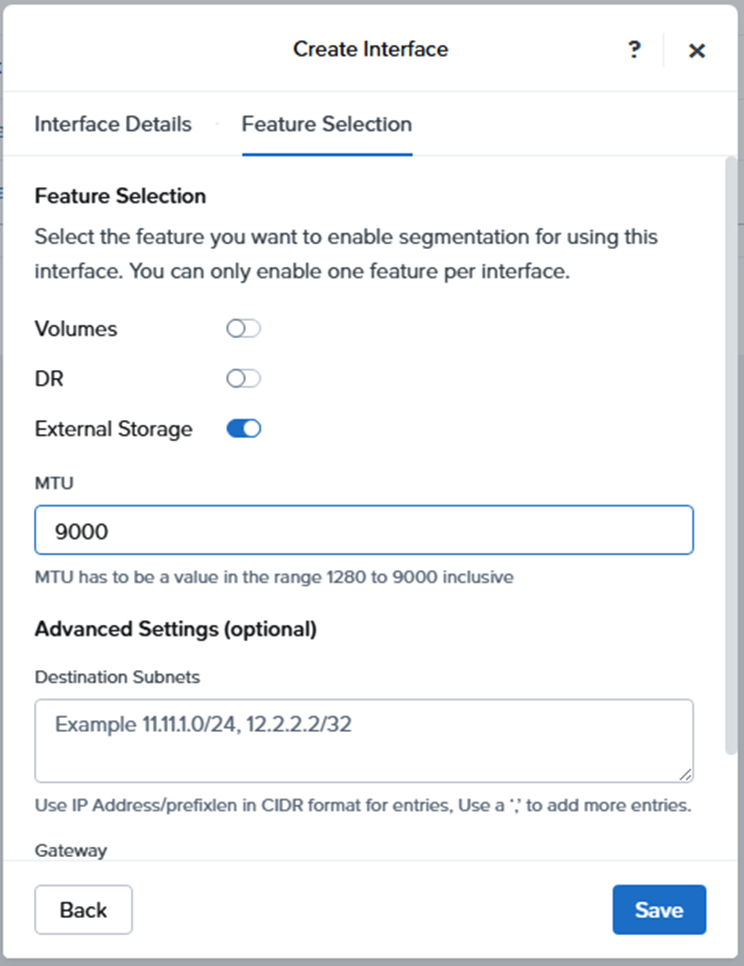
And of course select Enable

It takes a couple of minutes to finish
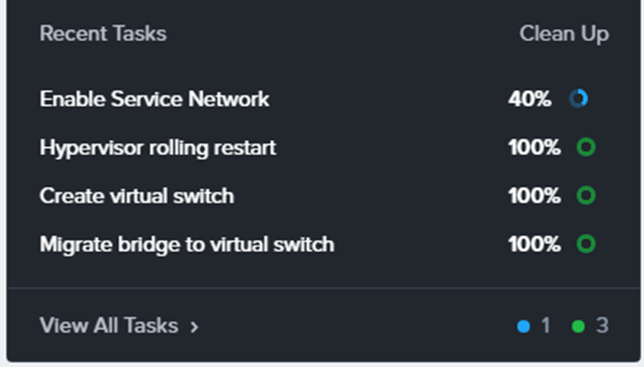
Now the interface is created

We have to do some preparations on the Everpure as well (if not done by Everpure install specialist)
There has to be a user and access policy created on the Everpure.
Log in to the CLI of the management interface
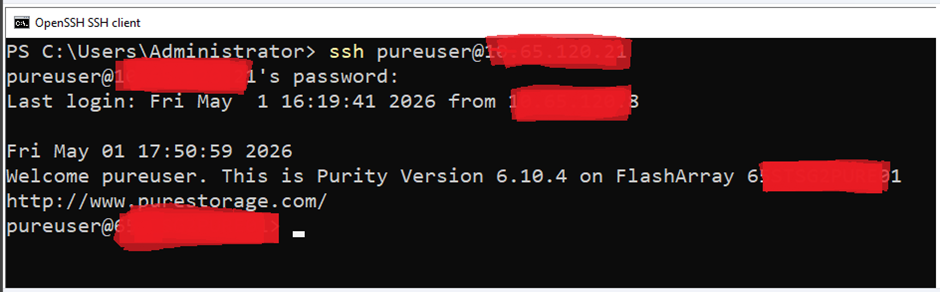
- Create a Realm and a Pod on the Everpure FlashArray:
Run the following commands in sequence in order to create a Realm and a Pod:

- Create a Management Access Policy for the Realm created in the previous step. This policy defines the Nutanix user’s administrative scope within the specified Realm

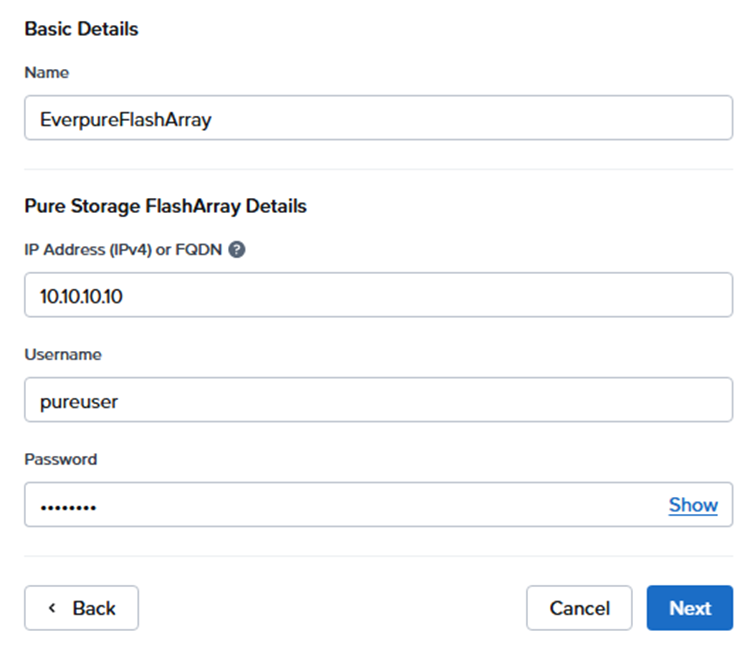
- Create a new user that Nutanix will use for FlashArray integration and add it to the Management Access Policy. A password for the new user will also need to be entered:

At the time of this writing some of the actions could also be performed in the GUI, but the outcome is of course the same
Now we can add the External Storage in Prism
The first time you enter Prism Elements a wizard appears:
If you ignored that you can choose +Attach External Storage
from the Storage > External Storage Tab
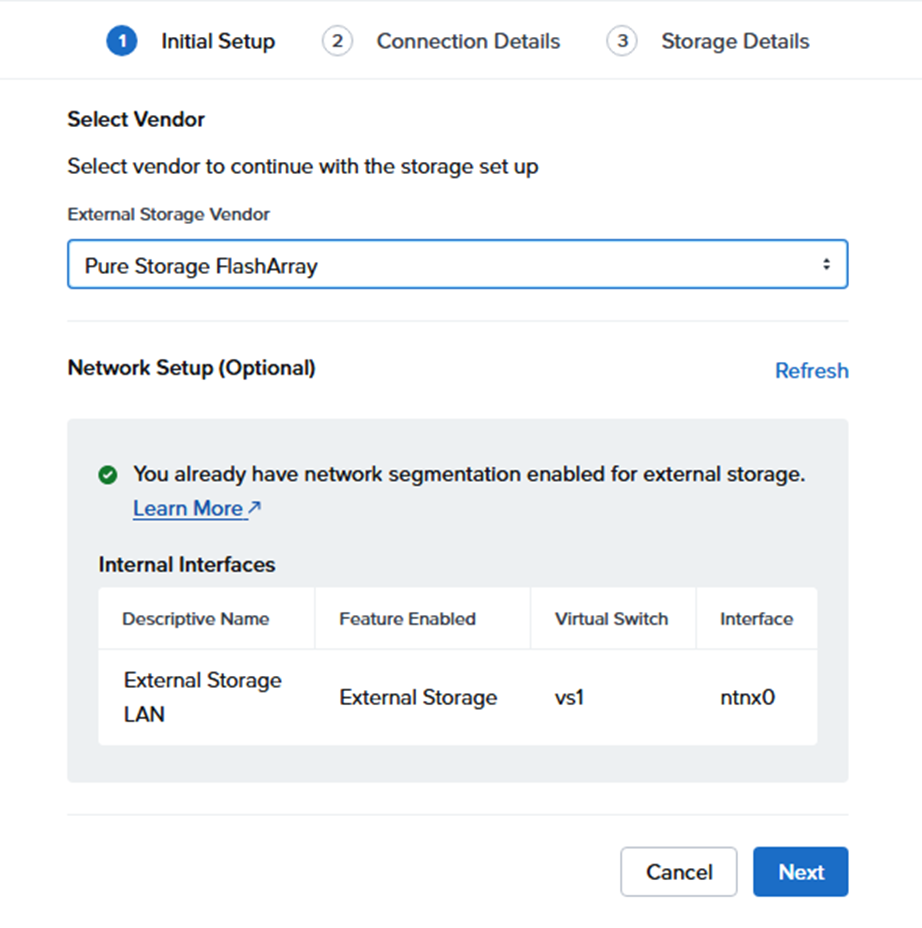
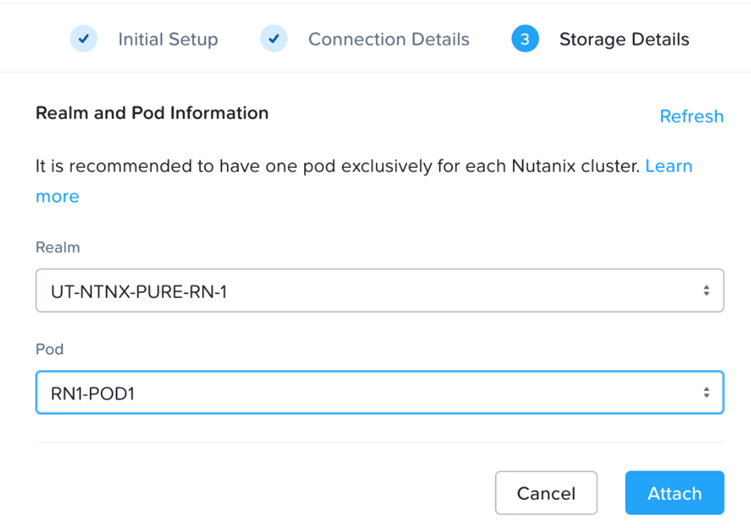
Select the correct Vendor (in this case Pure storage because Everpure name is not implemented yet in the GUI, the name change is fresh) and notice the check of the internal Interface is already been done.
De REALM and POD info will appear (only one REALM/POD combination per External Storage is listed because only one external storage attached is possible.
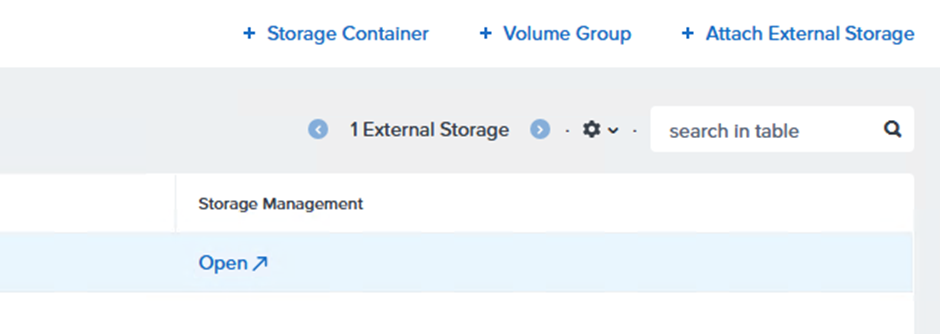
Then the Array is attached and is visible in Prism

Management of the Array itself is possible by clicking Open button
And the Everpure GUI will appear

Notice that firmware updates are no longer available in LCM

So at this time Nutanix firmware updates as well as Everpure software/firmware updates should be performed manually, This hopefully will be available in the LCM. No ETA of this feature availabale yet.


Comments